


🎨 Upgrade Your Game, Unleash Your Style!
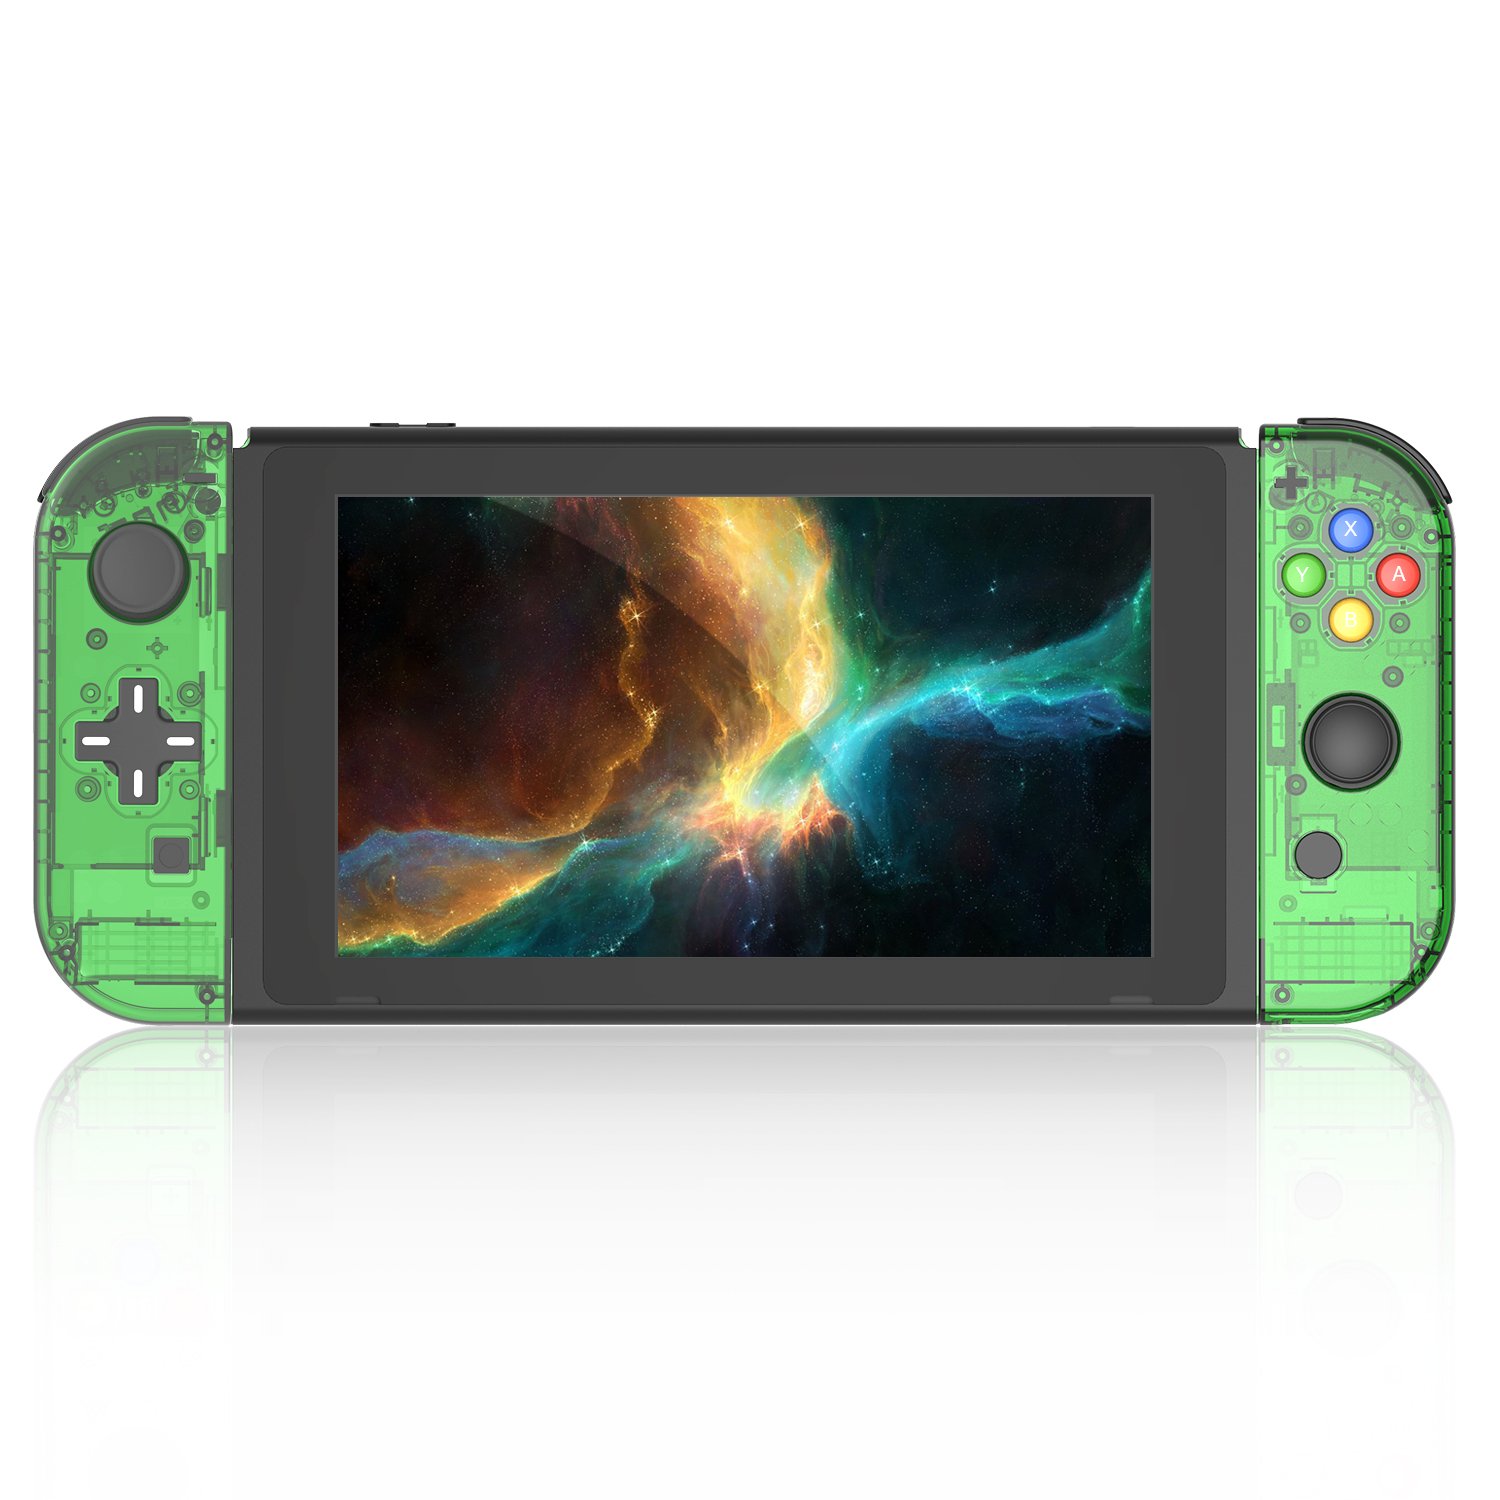
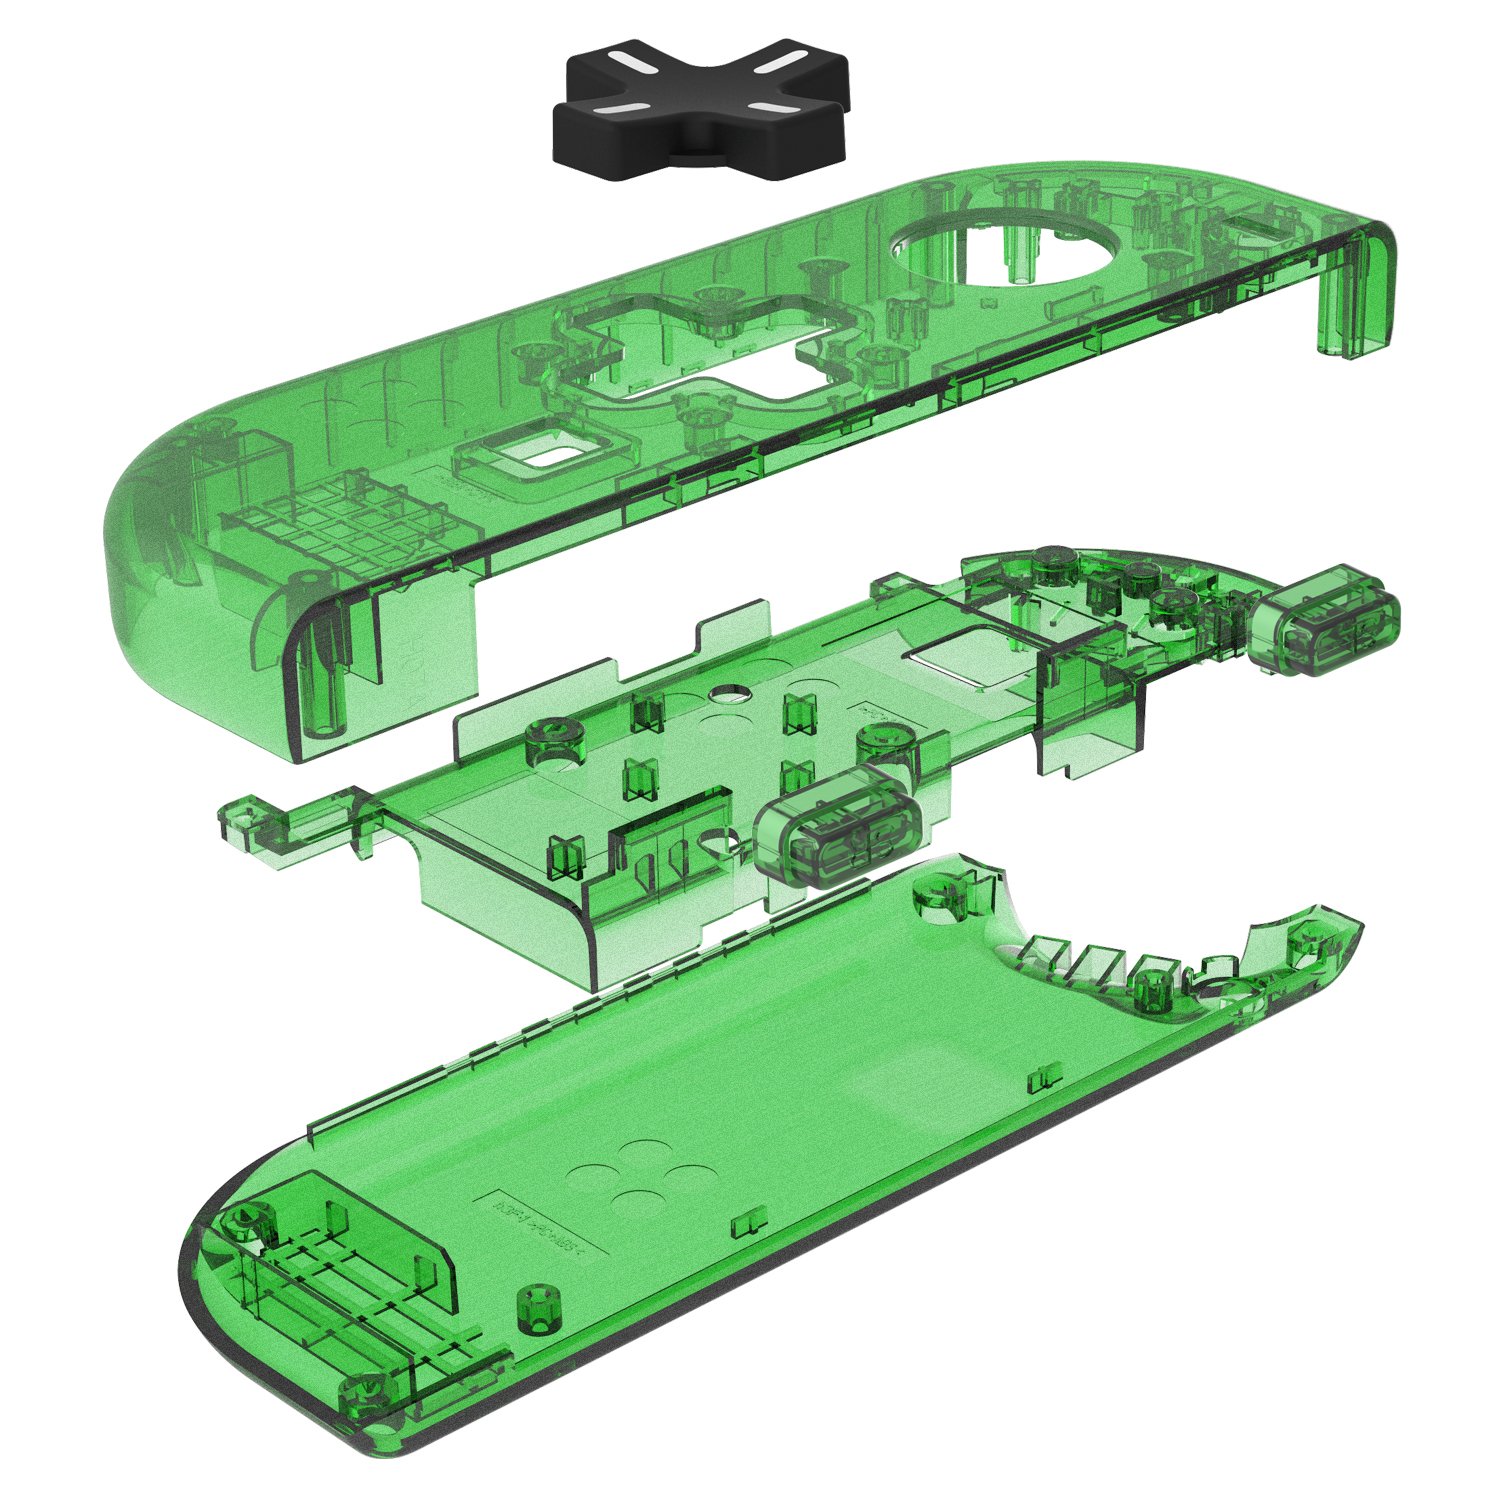
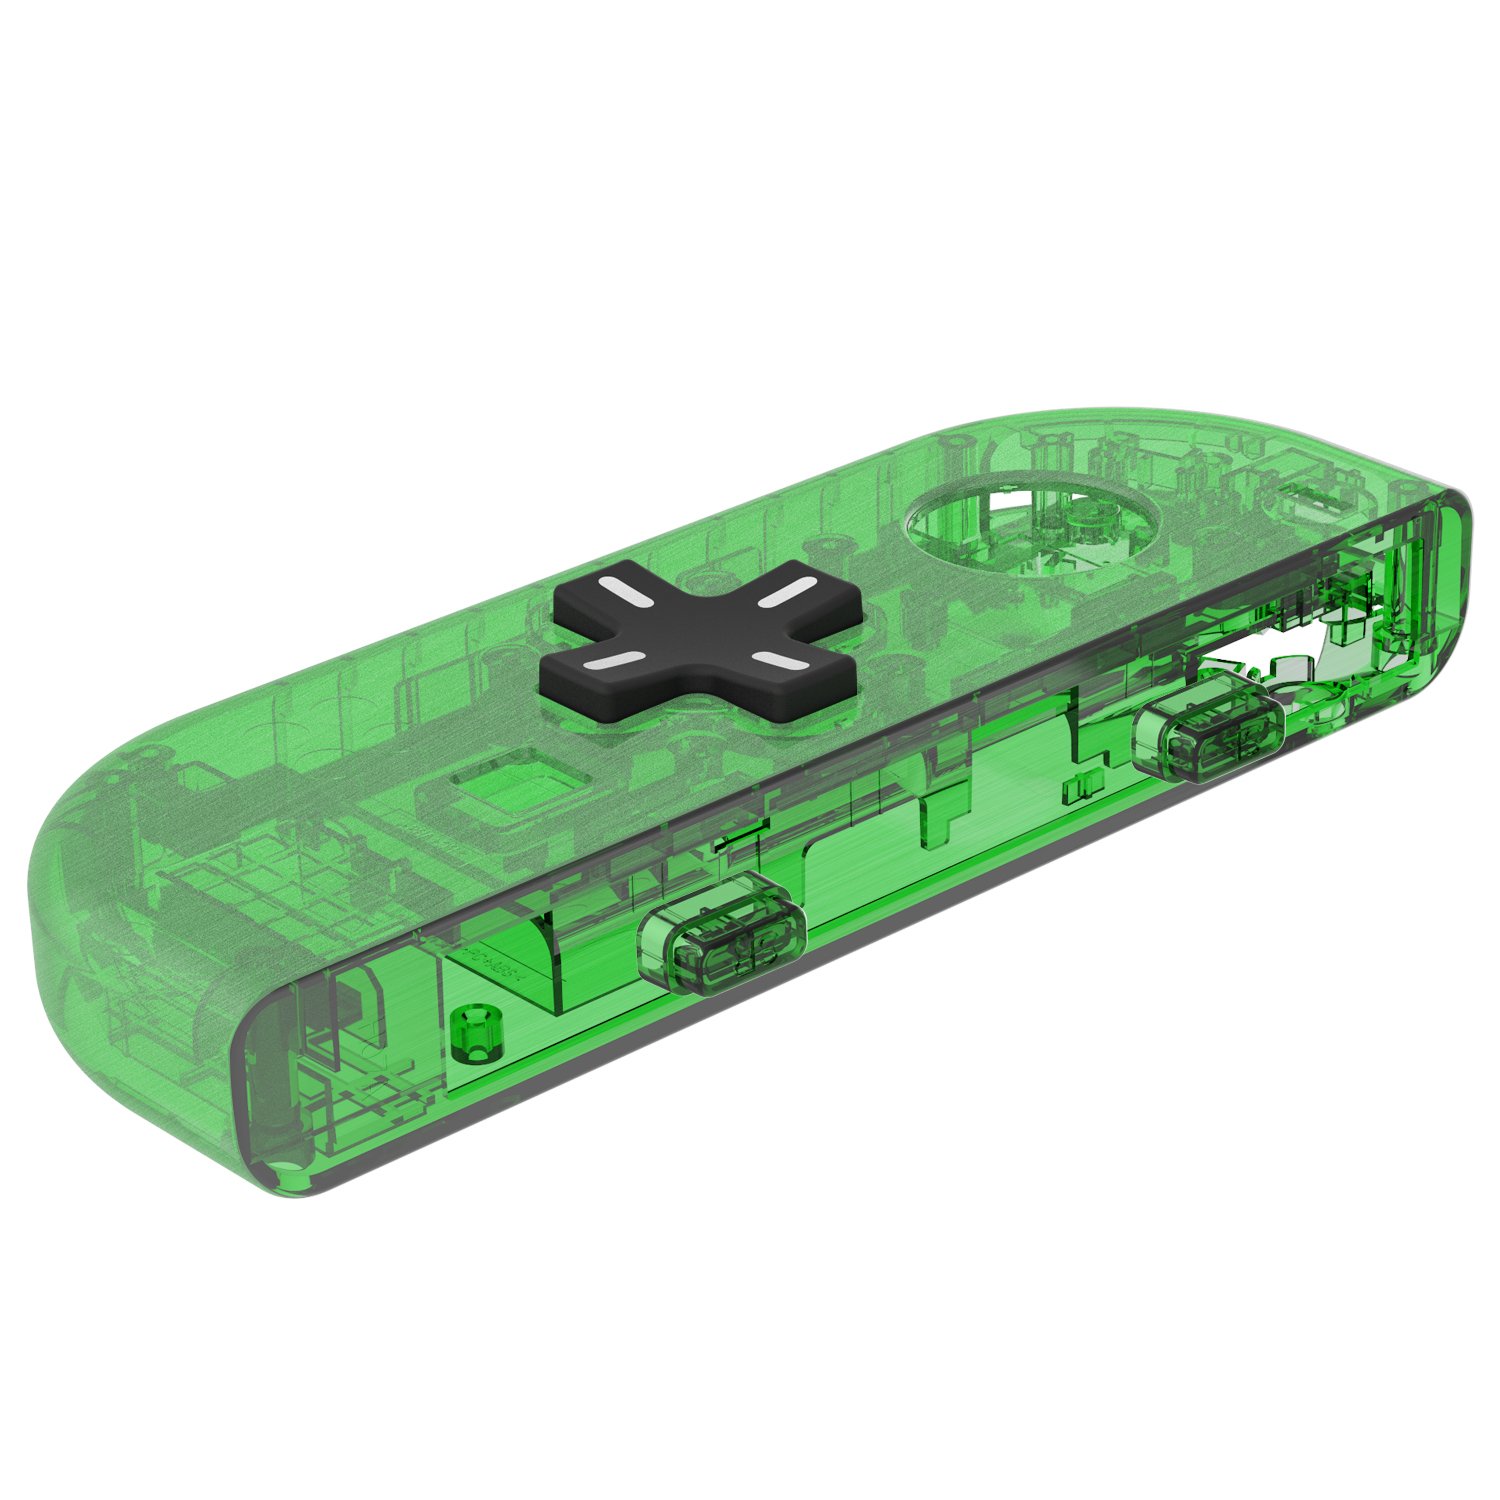
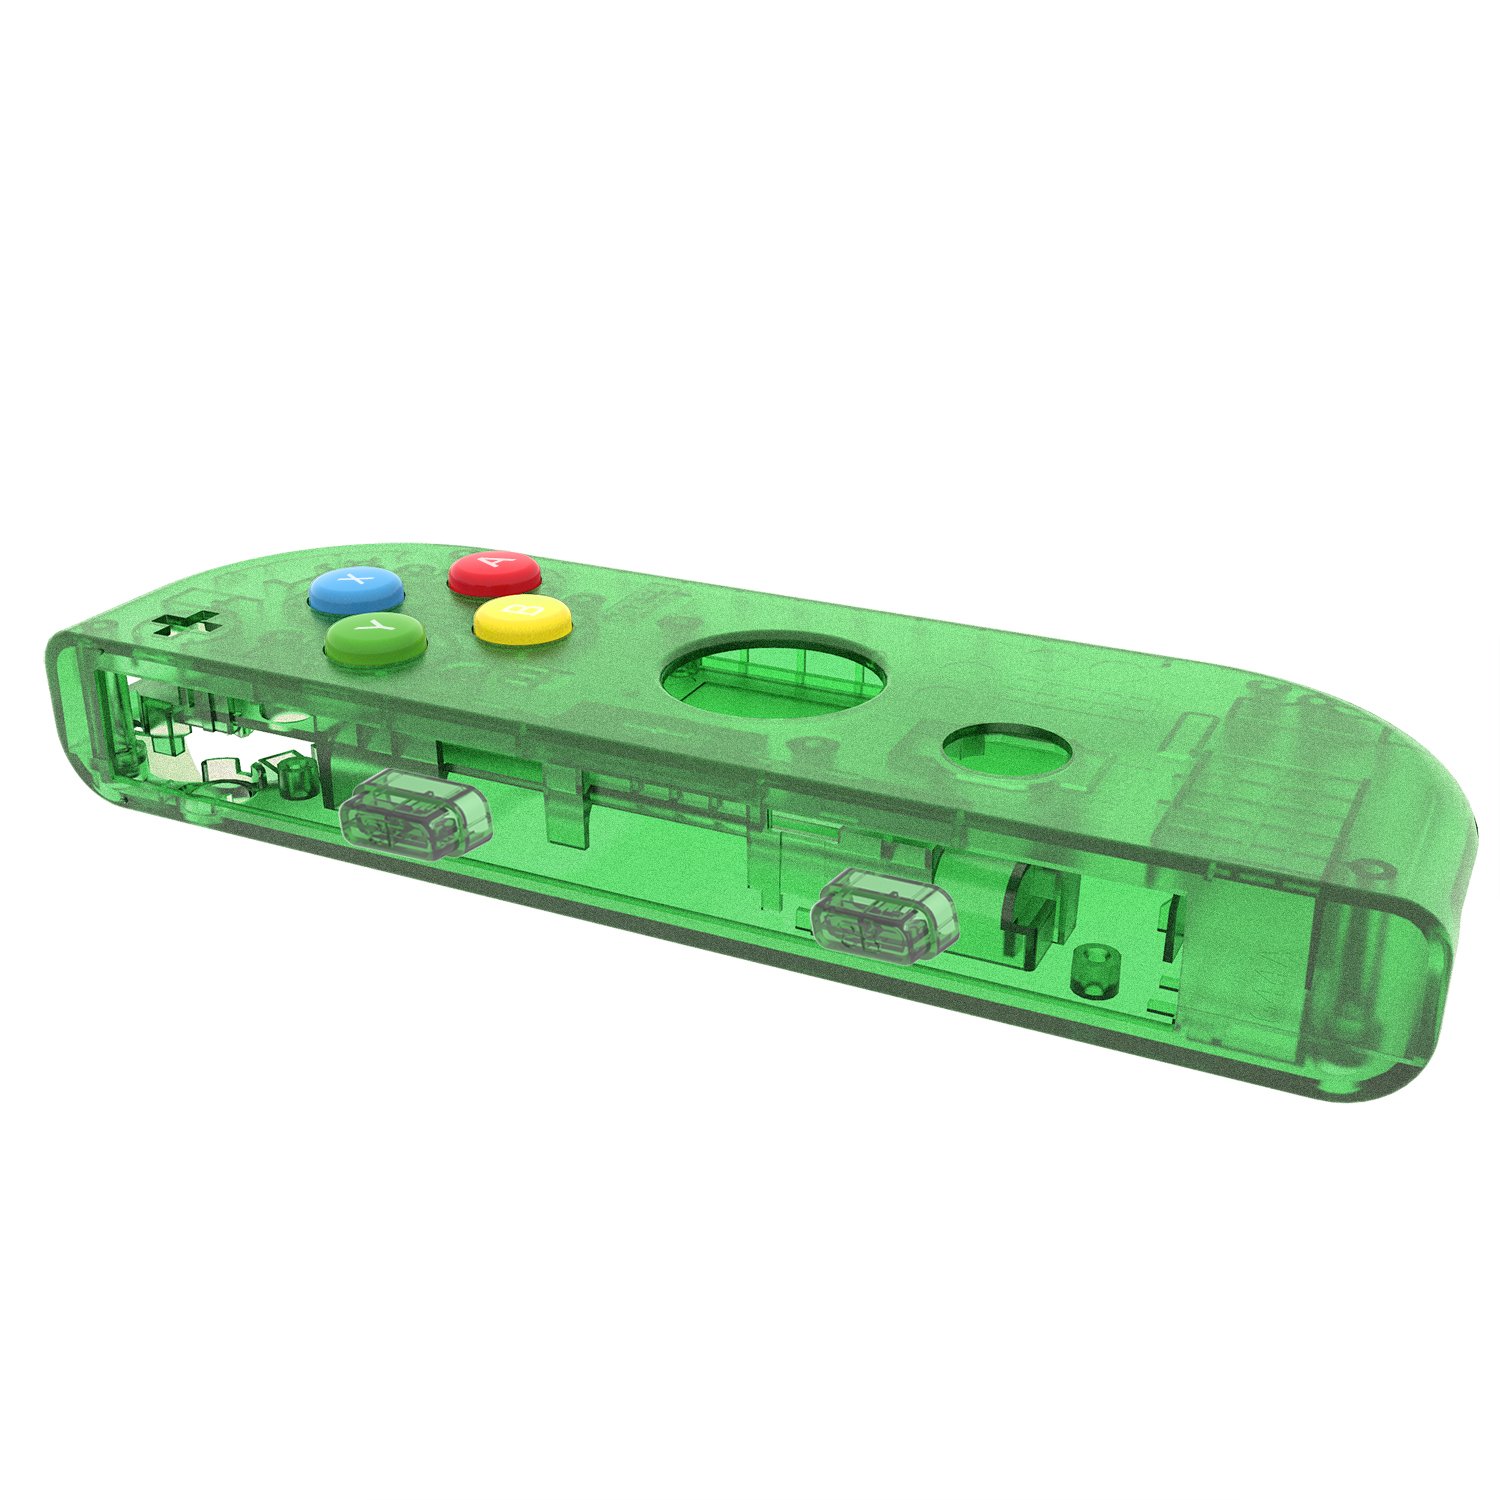
The BASSTOP Translucent NS Joycon Handheld Controller Housing is a DIY replacement shell designed for Nintendo Switch Joy-Con controllers. It features a D-Pad button for enhanced functionality, a translucent design for a unique aesthetic, and is easy to install, making it the perfect upgrade for gamers looking to personalize their controllers.
M**I
Make sure you are confident in this DIY stuff!
My God what a beautiful shell this is! it totally changed the look of my Switch to something unique and amazing! The price on all this Switch stuff no matter who you buy from is a tad overpriced but given how popular the Switch is right now its all about supply and demand and the market demands this stuff. It literally looks and feels like I have a brand new Switch which is awesome. Even my wife was super impressed by it as was one of my sons.The package arrived SUPER FAST which was awesome given it came from the state of Washington and I live clear over in Ohio. Took only 2 days to get to me. That's almost unheard of when I order anything. The package was nicely put together and all the parts were secure in the little plastic container. All the parts were undamaged and in perfect order. I was missing the multi-colored directional round buttons for the left joy-con but I had no intentions of using the colored buttons anyway as I wanted to stick with a purely black and white build for my Switch. So I don't care about the red/yellow/green/blue buttons thankfully or I might have been a little ticked off, lol.Installing the console back-plate was SUPER easy. My twin 2yr old boys could combine their brain power and probably figure out how to do it, that's how easy it was. Take a few screws out pull the back-plate off. Unscrew the game card reader screw and then unscrew the kickstand screws. Super simple and reverse steps to putting the new one on. Super easy. MAKE SURE YOU KEEP TRACK OF WHICH SCREWS GO WHERE!! IT 100% MATTERS!!! You MUST watch out for this!! After that your done with that part. Took me a whole 5 minutes to do that part.Installing and gutting the joy-cons is where you HAVE TO BE CONFIDENT in your DIY abilities!! You HAVE to be or you will screw something up or break something. You HAVE to be EXTREMELY sensitive and careful with removing every single part of the innards of a joy-con. You should be using an ifixt tool kit or something similar to that quality of tool. You will want to use tweezers at ALL times and not your bulky fingers. Especially when pulling ribbon cables. These are very easy to snap and break. Not to mention opening the retention pieces for ribbon removal. DO NOT FORCE ANY PART OUT! You will break it! instead apply light pressure and maybe wiggle a tiny tiny bit to the pieces that are being a pain for you. I also needed to replace my left joy-con's thumbstick as my original one was messed up and would drift to the left real bad while playing a game. So I bought a new joy-con on eBay for $8 and installed that while I was doing all this so it worked out great and saved me another tear down.All in all it was a good experience to do this myself. I LOVE trying things like this that take time to do and knowing if I screw something up I will pay for it, literally. If you are doubtful about doing this yourself I MUST insist you still try! There are tons and tons of YouTube videos with detailed step by step tear-down and reassembly for the left/right joy-con. I personally used the YouTube channel "JerryRigsEverything". He has a VERY detailed breakdown and reassembly video for the console back-plate and both joy-cons. I used his and had no issues at all even though I didn't need to watch most of it.Some things to add just because: When you are reassembling the joy-cons you must be conscious of how tight you are tightening some of the screws as that will affect how your buttons press. Like the b,a,y, and x buttons especially. Tighten to tight and the buttons will not work properly. To loose and things will move around inside the joy-con. You have to find just the right "zone" for the controllers buttons to function. Same with the R/L buttons.When removing the joy-con outer screws make sure you are using a Tri-wing screwdriver!! People seem to get a Phillips screwdriver confused with a Tri-wing screwdriver. Don't!!!!! You need a special Tri-wing to get into both joy-cons. Also remember these tri-wing screws are incredibly easy to strip. My best advice to just push as hard as you can into the screw with your tri-wing screwdriver and SLOWLY turn while making sure to watch the screw to make sure it is turning and you aren't stripping it. Not enough pressure and they strip like no other screw I have ever seen. Its crazy how "cheap" feeling the tri-wing screws feel.Make sure you remove the inside ribbon cables with a nice pair of tweezers! Do not use your fingers!! The ribbon cables WILL BREAK super easy! Best to just open the ribbon retention bars and slowly and carefully pull the ribbon cable out with a pair of tweezers. Same with just about every other part inside. If you can get it with a pair of tweezers instead of using your fingers then do it!! So many small pieces and so many things that break incredibly easy, Best to be safe than sorry.Final thing: This is not an easy task for someone who is not good with DIY stuff or who is doubtful of their abilities. The joy-cons are complicated. Don't let anyone tell you otherwise. These guys who say it was super easy and its not as hard as it looks are either lying or are just blessed with the ability to do stuff like this in EZ mode. Most people will find this challenging and nerve wracking. All together it took me 4 hours to get everything done and 5 minutes of that 4 hours was spend installing the Switch's back-plate. The rest of the 4 hours was spent on the joy-cons. its a heck of a job. Some people can do it in an hour while others like me who are super paranoid and are extremely overly careful take hours and hours. I would say for the average person it would take 3 hours or so just from the comments I have seen by other people.Good luck if you buy this! Its a super fun experience and I had a lot of fun doing it! The end result was well worth it and the times spent. I hope it is for you also!
C**H
well made, great customer service
i ordered the updated version switch case and right left joycon smoke black set.i was unsure looking at other reviews if this includes the colorful ABXY and arrow equivalents and yes it does.the set comes with the switch body backplate and kickstand piece, the 3 pieces each for both the left and right joycon, the 4 colored buttons for each joycon, and a set of a dozen phillips screws to replace the triwing screws that hold closed the out shells of each piece, though i just put the original screws back in.so my experience. i would suggest you first check out the teardown on ifixit to get an idea of what its like. they also list the tools you need. i used a ph00 phillips bit, a y0 triwing bit, a y1 triwing bit, a plastic spudger to pry without causing damage, and a pair of tweezers for handling ribbon cable latches. the packaging it comes in also has qr codes that link to handy videos walking you through a complete swap for the back plate and both joycons.the backplate it super easy, though a little snug to pop apart if you've never opened the system before. the joycons are another story. just be sure you are comfortable. you will have quite a number of screws to remove and keep track of, as well as a lot of ribbon cables to detach and reattach. even a few springs you dont want getting lost. agian, check out a teardown to see what you're getting yourself in to.the videos they link you to on the packaging are great, and even warn you of a screw in the left joycon you dont want to tighten too much or the four arrow buttons will not be easily clickable. just test the feel of them out when you put that screw back in before moving on. i also found the screw that hold the main board in the right joycon in directly over the + button is the same story. tighten it too much and the button will not be pressable, so check its got a clean click before moving on.so, beyond 1 issue that was remedied, and i'll get to in a moment, the fit and make of the parts is spectacular. they look great, and they fit just like the original parts. the plastic feels like the same kind as the orignial parts as well, im sure they'll hold up to use just as well. i dont see how they could really improve this unless they start offering new colorful pieces for the shoulder buttons and +, -, home, and capture buttons. i may repurchase a new set if they did just to swap those out too because i know they make high quality replacements.so the only problem i had involved the molding of the left joycon battery tray. the hinge the ZL button attaches to was not molded properly. i have a comparison with the original part in the included photos. but this is where the great customer service comes in. before i even had the set in hand i already had an email from the manufacturer asking if i was satisfied. i replied with the comparison shot and a description of the issue. they replied promptly despite the late time i emailed them, from the owner of the company him/herself, and by the next day they had shipped me a new part. it came in just a few days and was actually a full replacement set! this time the part was flawless and 5 minutes later i had installed it. very very satisfied with that level of customer support. i understand manufacturing defects happen, and its great to see a company right there to fix the problem and back up their product.i will definately suggest basstop to anybody who sees my pretty new switch and wants to know how to do it themselves.
R**Z
Se ve increíble
Se ve increíble y me gusta mucho como se ve, ya que aquí en MÉXICO no lo hay y llaman mucho la atención entre mis amigos
R**B
Es complicado, pero vale la pena
Ojo que necesitarán dos desarmadores especiales y unas pinzas delgadas; no se incluyen en el paquete. Lo que sí incluye son algunos tornillos, pero con los que le quitas a tus Joy-Cons es más que suficiente.A diferencia de los Joy-Cons originales, estos se sienten completamente lisos, y con acabado glossy.La instalación necesita de mucha paciencia y algo de experiencia. Te tomará al rededor de 1-2 horas, pero de verdad que vale la pena. Mi Switch se ve bastante cool y le dio un reset visual muy agradable :)Lo recomiendo solo si has tenido previas experiencias con este tipo de instalaciones o si tienes a alguien que lo haga por ti, porque no es fácil.
R**L
Just make sure you’re confident working with DELICATE electronics
This is a fantastic shell- amazing for the nostalgia factor and looks great. The shell is quality. I would not recommend trying unless you are confident working with extremely finicky, delicate electronics... or know someone who is. This isn’t like working on a DualShock 4... the joycons are much more complex. Overall a great pickup for the price!
M**C
Geld verschwendet!
Die Cases für die JoyCon waren ok, mehr nicht. Liegt daran, dass das case am rechten JoyCon nicht bümdig zum Schlitten schließt. Für das ok gibt es die 2 Sterne.Das Case für die Console ist eine mittlere Katastrophe! Einbau ist zwar denkbar einfach, aber das Breitenmaß stimmt nicht. Das Case ist ca. 0,5 mm breiter als es sein sollte, wodurch die Konsole aussieht als sei sie extremst verogen. Hat was von ner Banane. Dadurch knackt und knarzt die gesammte Konstruktion dermaßen, das ich nach 6 Wochen wieder das Original montiert habe.Die JoyCon in weiß behalte ich, aber das Konsolen Case wird wohl im Schrank verrotten... Dafür waren 99 Eur definitiv viel zu viel!
C**E
Nice
Value for money 👍
Trustpilot
1 month ago
3 weeks ago