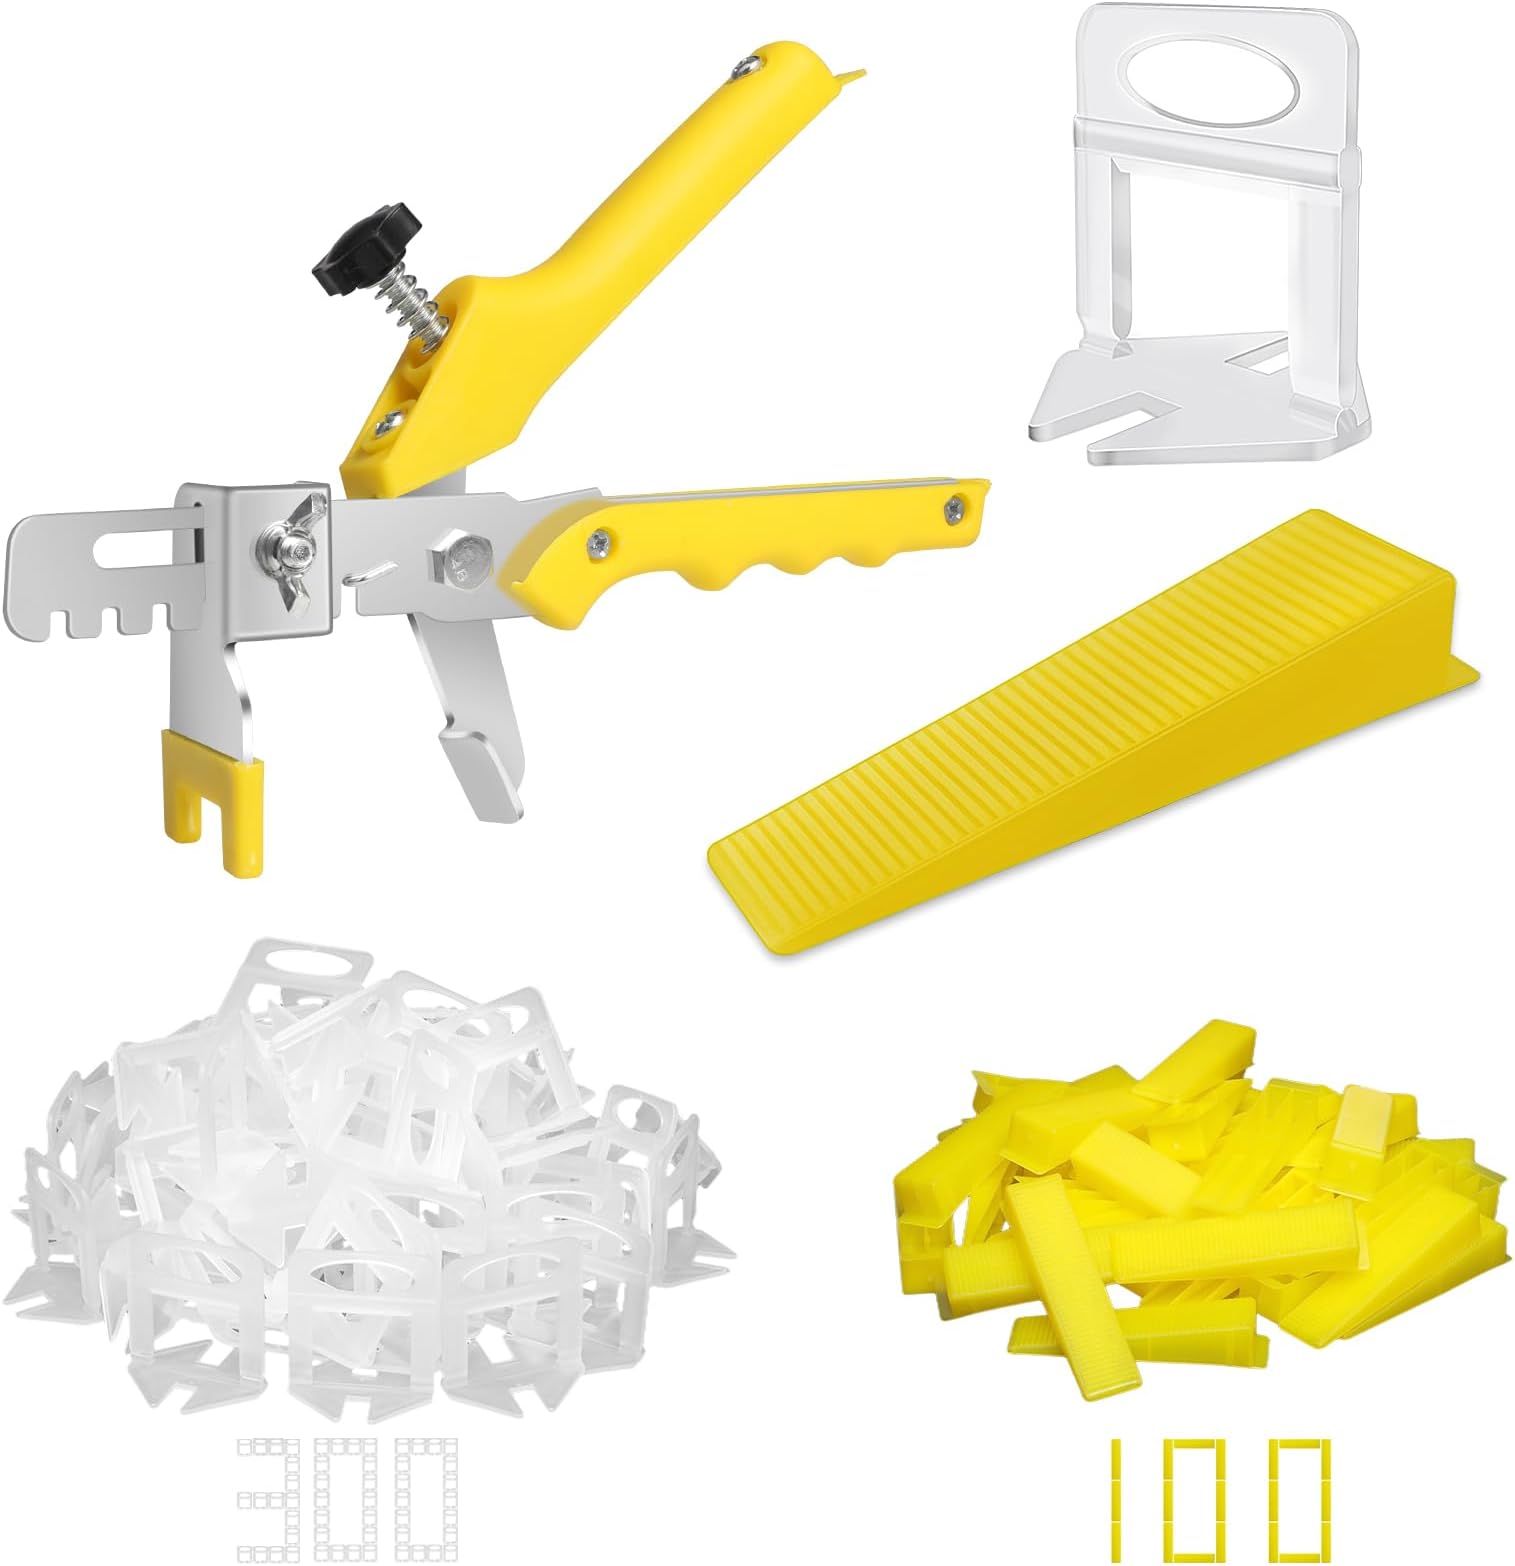
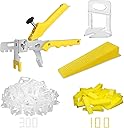
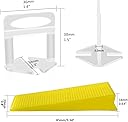
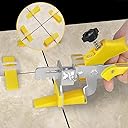
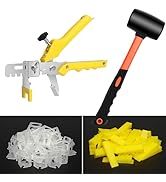
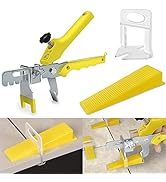
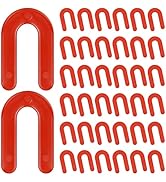
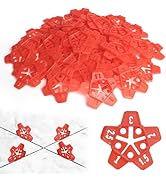
First the good. This system is the equivalent of the QEP and other high cost, name brand tile leveling systems. It is easy to use, works well, and best of all, about 1/4 the price of the HD and LOWES ones. The bad. Yes... sometimes the spacers do not break off cleanly. However, the one star reviews are as much user error as a fault with the leveling system. (See more on that below) I used this to put some 4x12" subway tiles on a shower surround, and against manufacturers recommendation, I did a 50% overlap. The reason the tile manufacturer recommends against a 50% overlap is to avoid lippage. (Where the edge of one tile is not even with the adjacent tiles.) The larger the tile, the bigger a problem it becomes. It worked extremely well. I compared the results against a 3x6 subway tile job I did a few years ago, and I saw less unevenness across the board. I was rather impressed. Now, I did have a few spaces that did not break off evenly on the first wall I did. It was frustrating, and I needed to diagnose the issue before I did the remaining walls. Here is what I found out. 1. When breaking off the spacers/wedges you have to hit hard and quick. Swing as if you were kicking (or hammering) something about three inches on the other side of the spacer. A wimpy hit will guarantee a bad break. 2. Do not allow mortar to harden around the spacers. After I got the best method to hit the spacers down, the only time, and I mean the ONLY time I did not get a clean break was where the spacer was embedded in hardened mortar. 3. Adjust the pliers before using. There is a limit set screw to ensure you do not over tighten (and potentially snap off the spacer while snugging it in place.) It is easy to do a few tests before you start setting tile. The spacers and wedges work just fine on loose tiles for this purpose. Lay the tile out, spacers between them and try to set a wedge. If it does not set securely, back off the set screw, if you can squeeze the wedge to the point the spacer deforms, screw the set screws in a bit more. Final caveat. The spacers will sometimes be unusable. I found one or two spacers per 100 to have their feet bent. If you insist on using that, expect your tile to not line up. The wedges are not enough to overcome a seriously bent spacer foot. Recommendation: Buy more than you think you need. This is cheap insurance. I purchased this kit, a bag of 300 spacers plus 100 additional wedges, and another 500 spacers (because it was only slightly costlier than the 300 bag). And, I am glad I did. With the extra spacers and wedges, I am sure I will be able to finish the shower and floor without needing to order more. UPDATE! After using the leveling system to install the floor tiles, I discovered a rather frustrating item. Not enough to adjust the star rating, but it is an ongoing problem. What, exactly is the problem? The levelers are clear/translucent plastic. Because you have to hit them hard and quick, they fly everywhere. And, because of their color (or lack of color) they are impossible to find. Seriously, manufacturer, put a color into it. Any bright color, except yellow, would do. It has been about two months since I tiled, and I am still finding these things. They are showing up everywhere, but you cannot see them until the vacuum sucks them up, you step on them, or whatever. Color! Color people. Make it easier to clean up, and you get a win!