


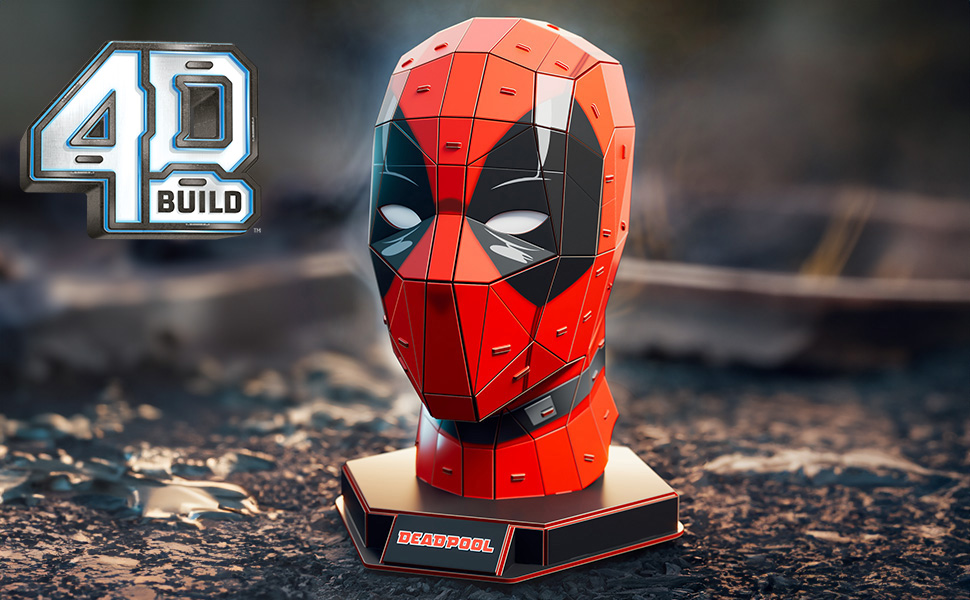
🦸♂️ Build Deadpool, Own the Spotlight!
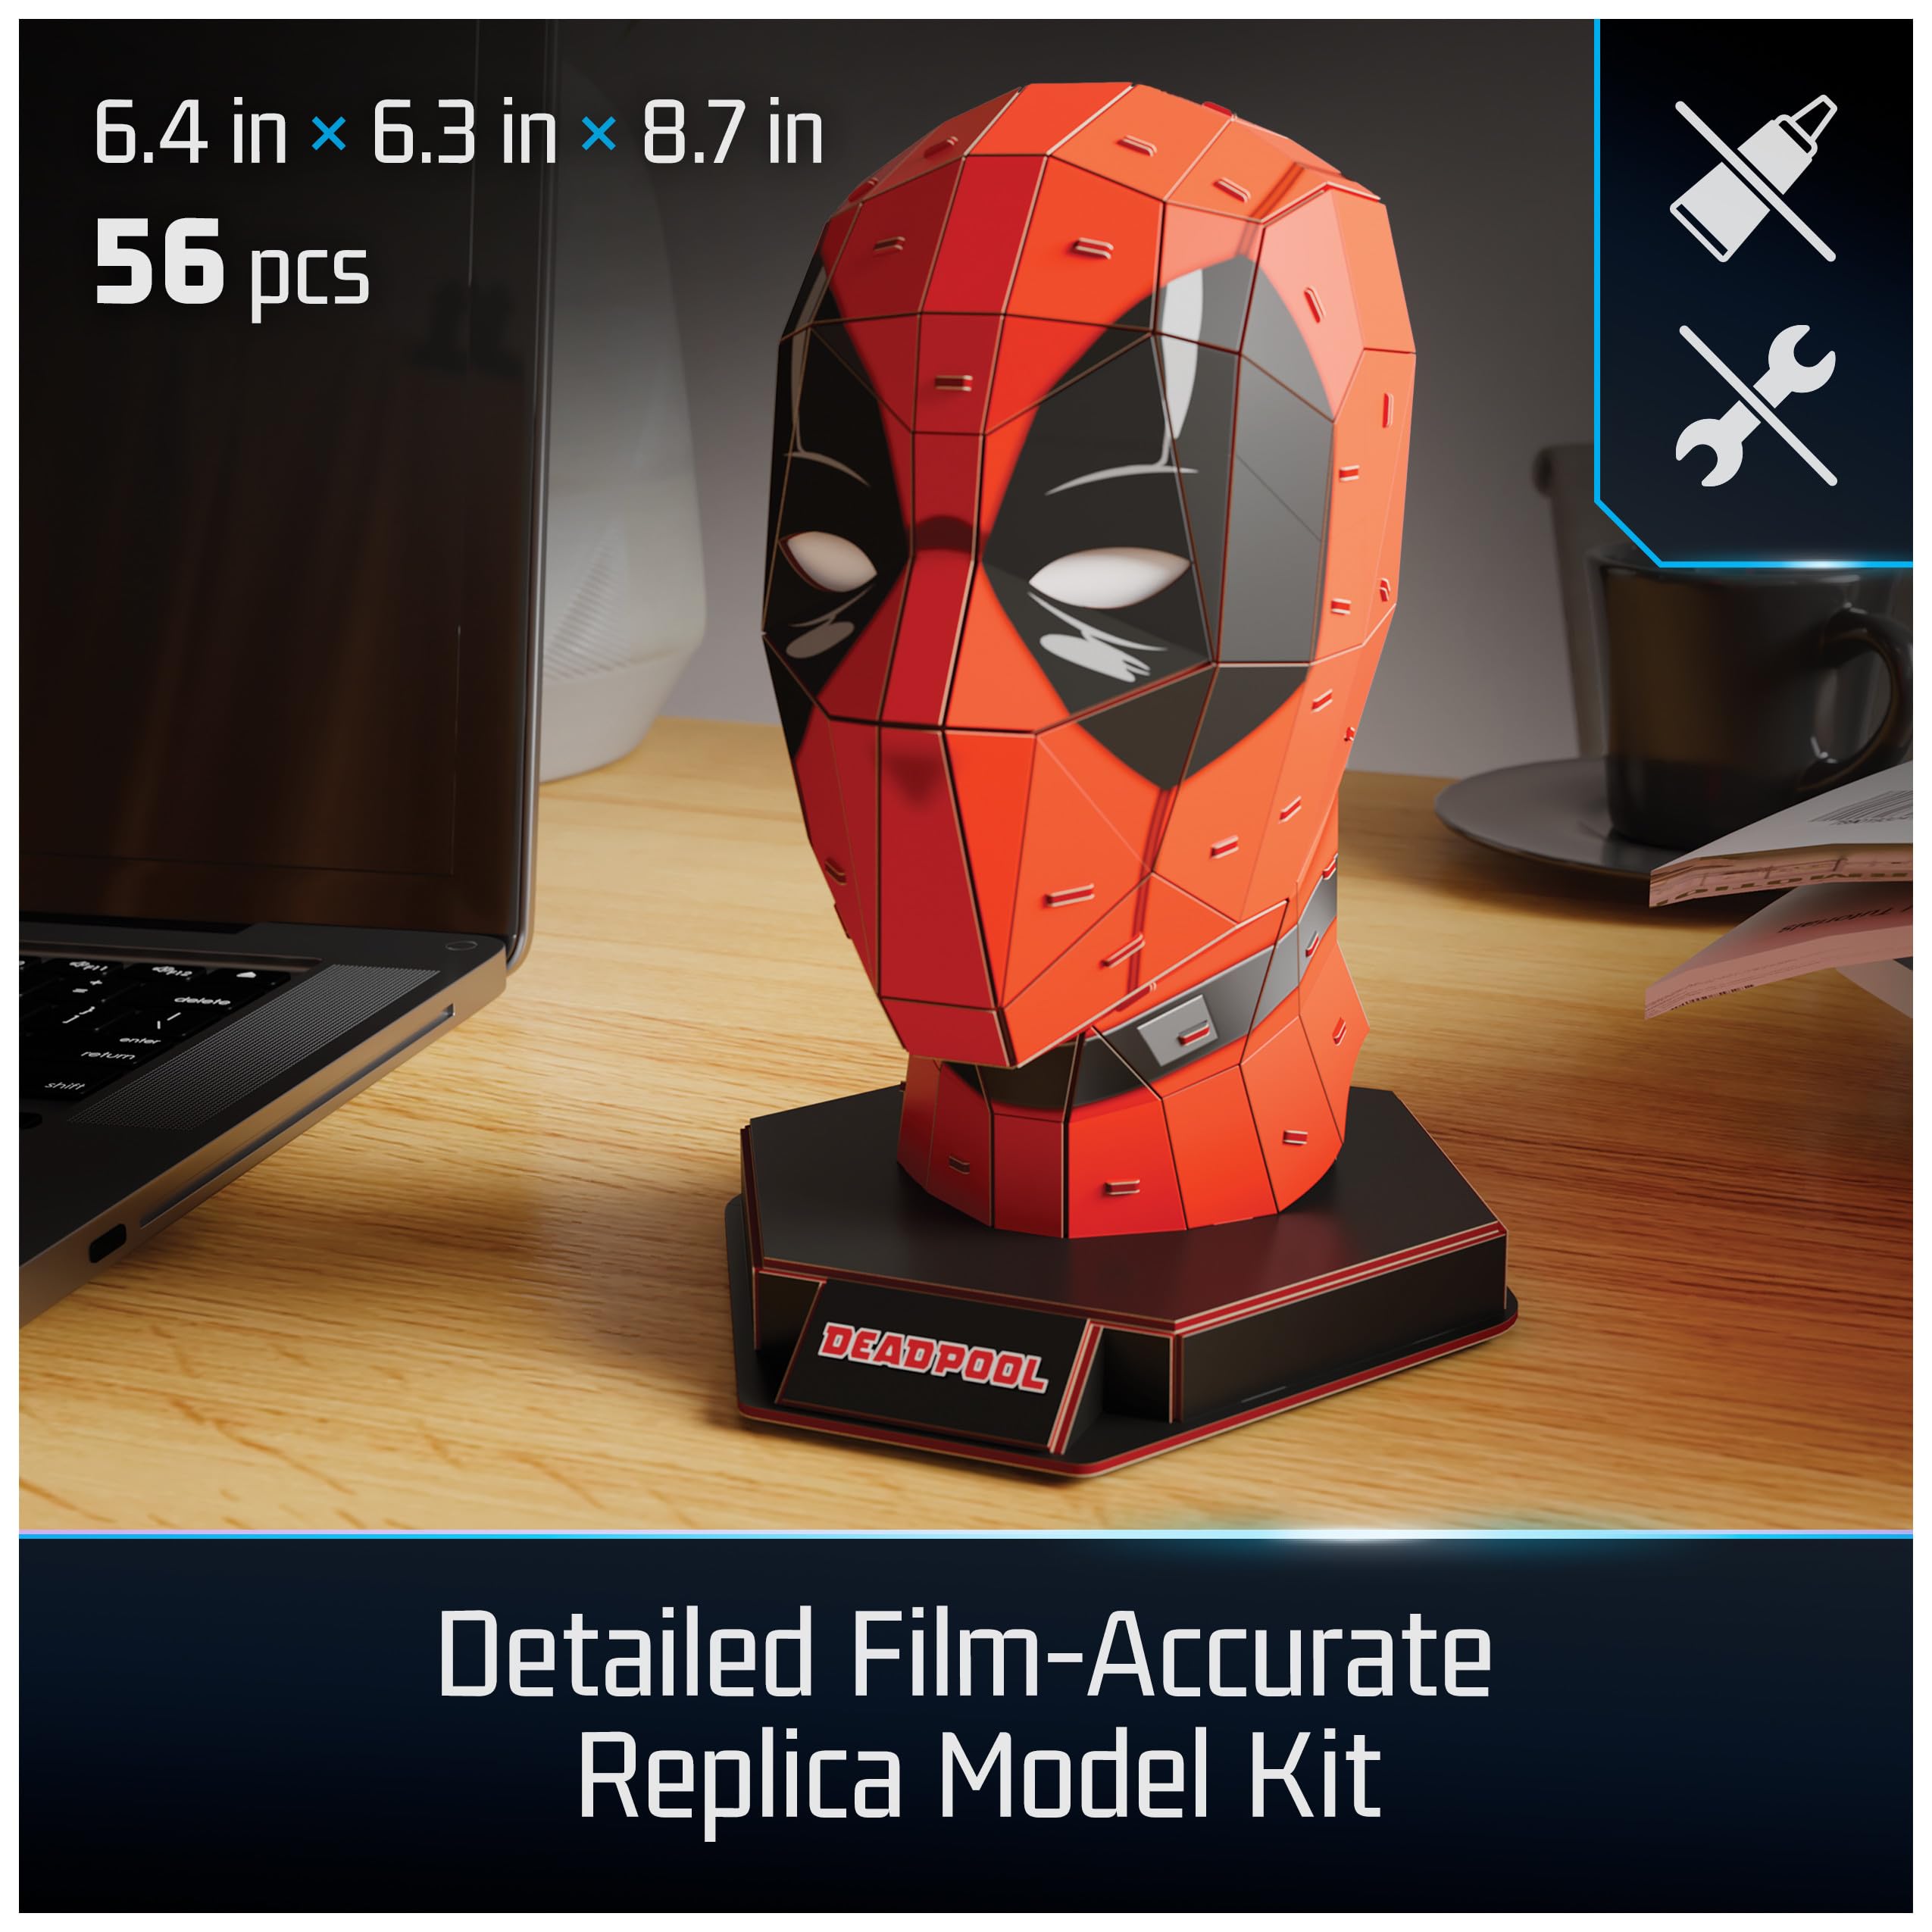
The 4D BuildMarvel Deadpool 3D Model Kit offers a detailed, film-accurate Deadpool head crafted from 56 durable plastic pieces. Designed for ages 12+, it assembles easily without glue or tools and includes a sturdy stand for display. Measuring 6.4 x 6.3 x 8.7 inches, it’s the perfect collectible for Marvel fans seeking a stylish desk or shelf décor that doubles as a rewarding puzzle experience.


B**3
Great for teens.
I got this as one of my teenage son’s Easter gifts. He’s really into building things and being hands on. He’s really enjoyed putting this together. So much so that we ended up getting him two more different characters. Kept him busy for awhile. He’s hard to shop for so I’m glad this was a hit.
C**Z
Very good quality
Very good it came in 3-4 days! No missing prices or anything! My boyfriend loved it!!💗💗💗
C**Z
Épico ⭐⭐⭐⭐⭐
Una belleza !
B**.
A Great Detailed Build - Tip and Tricks!
Having successfully built the 4D Iron Man helmet in the past, I was excited to try my hand at this HulkBuster. While the Iron Man helmet was slightly challenging, I have to say that for the expected results, the HulkBuster model required much more precision, patience, and slow methodical building. Having said, I thoroughly enjoyed building it and it came out great. I did however learn several tips and tricks that I think definitely helped the quality of my end results and I pass them on here to hopefully give other potential builders a HulkBuster “leg up” on their assembly efforts. Good luck and enjoy the journey!1. When popping out the perforated tab holes on pieces, use the provided plastic tool to open up a bit more each of the tab openings. It will make it easier to connect the piece to its tabs.2. Take your time on every piece to ensure it is completely pushed down or pushed in completely to “bottom out” with its neighboring piece. This is especially important when connecting the legs together via the waist unit, (page 16) as they are at different angles. If you don’t ensure proper fit-together, the legs will be slightly askew and none of the later waist armor pieces will fit properly.3. Speaking of which, one trick I’d recommend is that after you have connected the two legs with the initial waist build, to ensure fit accuracy, skip well ahead for a moment in the overall build to page 21, and dry fit piece A02. This piece is almost like the armor “diaper” as it fits between the legs and wraps around the front of the waist. If you can get this piece to dry fit correctly, you can remove it and return to the build instructions, secure in the knowledge that you’re on track as it relates to overall accuracy. All of this is very important as otherwise, any “off” angle of the legs will mean that you will be unable to attach the model legs to the black base unit, as the punch holes will not align. Although if this should happen, you still have 2 options: display the model without the stand or cut off the feet tabs and glue the model to the stand in normal placement.4. In spite of all of the above, sometimes it will be necessary to “cheat” in your build. By this I mean that some pieces require lining and connecting many, many tabs and it simply is near impossible to do without some piece stability. This is where I leveraged Gorilla Glue Gel and painters (blue) tape. For broad, wide pieces, I sometimes would glue the far left-most or right-most tabs of the piece and let it dry, using the painters tape to hold the pieces together. This would permit me to work on other tab areas later without the original tabs coming apart.5. There were many times that I would use a small amount of glue on the tab and then connect the piece, just to ensure a proper hold.6. In spite of all of the careful building, there were occasional times where a piece simply wasn’t exactly going to fit or stretch slightly to catch all tabs, even though its’ placement was accurate. I honestly soon got over this and on a clear exception basis, would cut off the offending tab and simply glue the piece much easier to its respective mate, without trying to struggle with the original tab. I wouldn’t recommend this cheat often, but in the few times I needed to use it, the final model display was not the wiser to anybody’s eyes.7. Be careful to be aware of continuous guiding of the LED lights and wires throughout the build so as not to come up short with wiring, etc. Also, I ended up gluing in place the LED bulbs onto their respective piece and letting them dry completely, so that I could work with the piece without trying to keep the LED in place (a near impossibility).
S**A
Good gift
My son loves this kind of puzzles, he has several... Spiderman is his favorite.
S**A
Non electronic
Give the teens something to do.
S**A
Deadpool 3D puzzle
Purchased as a Christmas present. It’s made from quality cardboard pop out pieces. They are flexible and easy to assemble and they stay together well. The color was spot on and everything fit together well. All the pieces and directions were included in the box. It was well worth the money he had a lot of fun putting this together. It’s even held up after the kids got to it a few times. A cute, fun, well made 3d puzzle. I’ll be shopping for others next year!
N**M
Easy for people who suck at puzzles
My husband loves Deadpool, but is so, so bad at puzzles so I was very worried about including this with his presents for Christmas. I once bought him a metal Tardis puzzle and there was a lot of cursing and crying that year cause he cannot do puzzles. Also he struggled with my plain ol Christmas puzzle. The man just isn’t good at them. But he was able to put this one together pretty easy. Took him about an hour so just as a heads up if you’re truly bad it might take about an hour but it looks pretty cool once completed. I wish they’d make more designs of things. Good value for the money. Quality is decent. Lots of fun for me. And the pieces fit together well. If you do Lego and off brand Lego then the reference here is they’re not as good as Lego but as good as the decent off brand legos.
TrustPilot
vor 1 Tag
vor 1 Woche