Laden Sie die App herunter


Kundendienst
Copyright © 2025 Desertcart Holdings Limited
Laden Sie die App herunter

🌈 Tie your style to vibrant creativity—don’t miss out on the ultimate DIY dye experience!
The Tulip One-Step Tie-Dye Kit Mermaid edition offers 5 pre-mixed, highly concentrated permanent fabric dyes plus 5 refill packets, enabling up to 30 projects. Designed for 100% natural fibers like cotton, rayon, and wool, it requires no pre-soaking and includes gloves, rubber bands, and instructions for 8 unique techniques. This beginner-friendly kit guarantees vibrant, fade-resistant colors with easy clean-up, making it the perfect creative outlet for professionals seeking a fun, social DIY activity.


| Best Sellers Rank | #12,489 in Arts, Crafts & Sewing ( See Top 100 in Arts, Crafts & Sewing ) #19 in Fabric Decorating Kits |
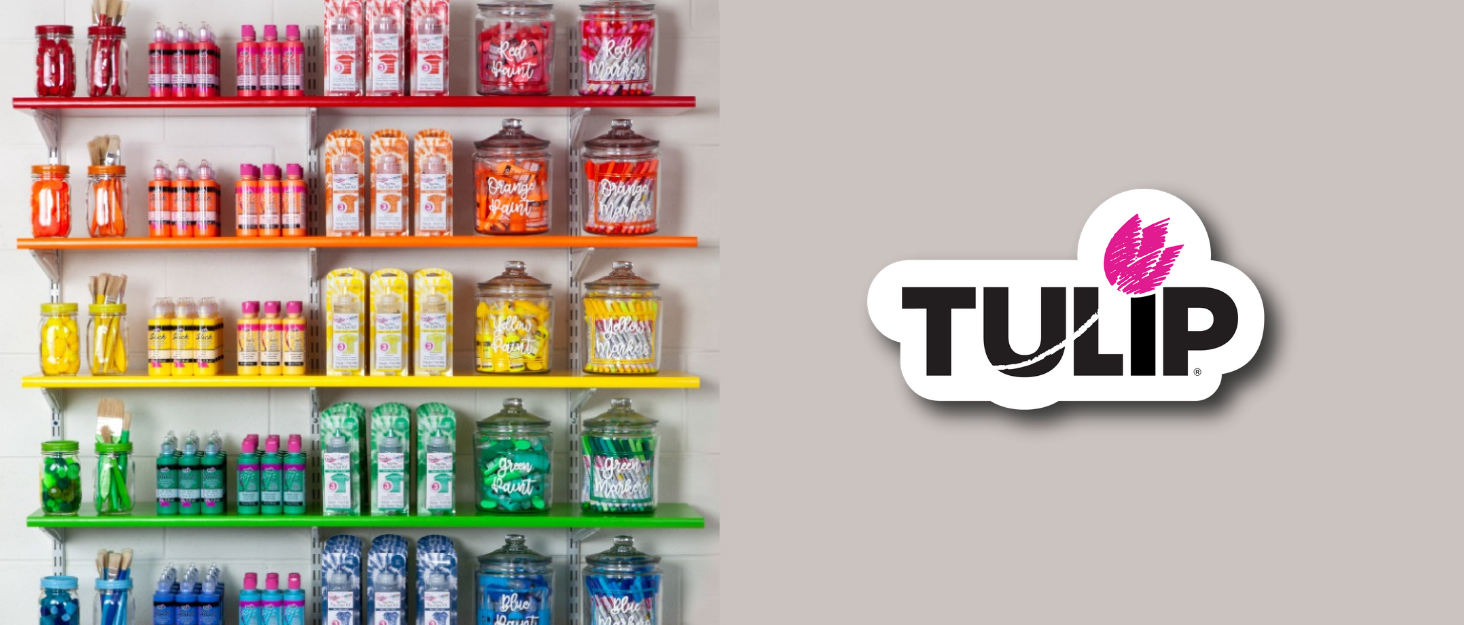
| Brand | Tulip |
| Color | Mermaid |
| Compatible Material | Cotton, Rayon, Wool |
| Customer Reviews | 4.7 out of 5 stars 9,424 Reviews |
| Item Form | Powder |
| Item Weight | 0.45 Pounds |
| Unit Count | 1.0 Count |
A**E
Unleash Your Creative Spirit - Tulip One-Step Tie-Dye Kit Review!
If you're looking for an exciting and vibrant way to express your creativity, look no further than the Tulip One-Step 5 Color Tie-Dye Kit Ultimate. This kit is an absolute game-changer when it comes to tie-dyeing, offering endless possibilities for colorful and eye-catching designs. Let's start with the ease of use. The Tulip One-Step Tie-Dye Kit takes the guesswork out of tie-dyeing. With its pre-mixed, vibrant colors, you don't need to worry about mixing dyes or creating a mess. Simply add water to the squeeze bottles, shake them up, and you're ready to unleash your artistic flair. The kit comes with easy-to-follow instructions that guide you through the entire tie-dyeing process, making it suitable for beginners and experienced crafters alike. The color selection in this kit is simply phenomenal. With five 1.5oz bottles of vibrant dye, you have a wide range of colors to choose from. Whether you want to create bold and vibrant patterns or go for a more subtle and pastel look, this kit has got you covered. The colors are rich, vibrant, and they hold well even after multiple washes, ensuring your tie-dye creations stay vibrant and beautiful. The versatility of this kit is another standout feature. With the Tulip One-Step Tie-Dye Kit, you can experiment with different techniques and patterns. Whether you prefer traditional spiral designs, funky bursts of color, or your unique creations, this kit allows you to let your imagination run wild. The squeeze bottles make it easy to control the dye application, ensuring precise and desired results every time. Durability is also worth mentioning. The dyes in this kit are designed to be long-lasting and colorfast. Once your tie-dye masterpiece is complete, you can confidently wash and wear it without worrying about the colors fading or bleeding. The dyes bond well with the fabric, resulting in vibrant and fade-resistant designs that will withstand the test of time. Cleanup is a breeze with the Tulip One-Step Tie-Dye Kit. The squeeze bottles are easy to clean, and any residual dye can be easily rinsed away. It's a hassle-free experience that allows you to focus on the fun and creative process of tie-dyeing. In conclusion, the Tulip One-Step 5 Color Tie-Dye Kit Ultimate is an absolute must-have for anyone looking to unleash their creative spirit. With its pre-mixed vibrant colors, ease of use, versatility, and long-lasting results, this kit offers an exceptional tie-dyeing experience. Let your imagination soar, create stunning designs, and turn ordinary fabric into works of art. Upgrade your tie-dye game with the Tulip One-Step Tie-Dye Kit Ultimate and prepare to be amazed by the endless possibilities. Get ready to dive into a world of vibrant colors and endless creativity!
C**A
The photos speak for themselves! Fool-proof and amazing way to tie-dye clothes
I cannot tell you how pleased I am with this Tie-Dye kit!!!! I am going to give you the full experience here, so buckle up, get ready, and everything you need to know about this kit. Bottom Line, for those who don't want to read my whole review: This is an EXCELLENT beginner's kit for those that want to get into tie-dying. The directions are clear, it comes with everything you need, and there are a ton of resources online. I am a first-time tie-dyer and the results were wonderful. Just take not of wet vs. dry designs (more on that later - see pictures) and I suggest buying one more kit for a full range of rainbow colors. (I got this one called the Ultimate Kit and the Rainbow Kit from a local craft store. Believe it or not, Amazon's prices are cheaper than Michael's.) I would also invest in some extras to help make your experience easier. such as: A shower curtain liner from the dollar store - this ensured everything was covered. "Color catcher" dryer sheets, for when you need to rinse the shirts in the dryer (I'll explain later on in the review Lots of old plastic bags The whole experience - get ready for a very in depth review! Alright, as mentioned, I am totally new to tie-dying. I knew of the concept just by seeing it happen at day camps and Girl Scouts, but never did it solo or independently. The kit claims there is enough dye for 30 projects - that is an exaggeration to me, unless you are dying small projects like socks. I would say one kit will safely color 20 adult shirts. The bottles come pre-filled with powder dye, and then there is an extra packet of each color. As I mentioned, I also bought the Rainbow kit to get a nice range of colors. Between the ultimate kits and the rainbow kit, you should be go to go, but Tulip has so many kits with complimentary colors, it is definitely worth taking a look at their selection. Orange did not come in either of these two kits, but I did have two yellows, so I mixed a touch of the red dye into one of the yellow bottles to make orange. Full disclosure here: this project IS MESSY and TAKES TIME. I high recommend you do it outside, but if you can't, be sure that everything is covered. This dye is specifically made so it sticks to fabric and not skin or plastic, but there is a chance it will stain, so of course cover your bases and use caution. I dyed six t-shirts - four adults, two youths (or youuuts, for My Cousin Vinny fan's) - and four onesies, and had enough dye to complete another couple of shirts. I ended up dumping the excess dye, as Tulip says the concentration will weaken within 24-72 hours. After using half of each kit, I have 10 packets of color left for another day. All together, the project took two days. It doesn't have to take two days, you can do it faster, but I took my time to get it right. I started by picking an area outside and covering everything with an old shower curtain liner. I used a metal dish rack to help dye the shirts so that the color could drip below and not contaminate whatever shirt I was coloring. Also, I dampened the t-shirts before I started the project, as the instruction says - PLEASE take note of this, because my first two shirts were not damp enough (they were on the drier side) and the designs came out looking nice, but not as cool or classic as the wet shirts. For that classic tie-dye swirl, you need to have your shirt wet. The booklet says to pre-wash them in the machine but I just wet them under the sink. In my pictures, two youth shirts were done dry, and the design came out more like shattered glass, while the wet designs are more ombre'd, and have a true swirl. The designs came out great! The ultimate kit came with a booklet of handy design tips, but the sky is really the limit here and your design can vary based on your choices. Keep complimentary colors in mind and how colors will mix - i.e, blue next to yellow will make green, and so on. The kit came with plenty of rubber bands to hold shirts together and several pairs of disposable gloves so your hands will not get dirty - wearing gloves is a MUST! Impressively, I have UV gel nails on and I did stain the tips of my fingers a bit, but my nails are fine - the dye did not permanently stain them, which I was super happy about. The basics of tie-dye are: wet the shirt, pick a design, scrunch the shirt up into the desired pattern, secure with rubber bands, dye to your hearts content, put it in a plastic bag for at least 6 hours, and then rinse and wash. I put the shirts in old plastic bags from the supermarket and left them outside for 24 hours. I meant to rinse them that night, but didn't have the time. No matter - the dye came out very saturated on the finished project and I am quite happy. It took me around two hours to dye the 10 items, and another hour and a half to rinse them outside. When it came time to rinse them, I used a hose and a bucket to really get the color out. The directions say rinse until clear, but no matter how many times I rinsed them, there was still a bit of color. Again, this dye did not stain the pavement, which I was super pleased about. Then I ran them on a cold water cycle with color-grabber sheets - these are a MUST! You're suppose to run these shirts in the wash one at a time, but that is wasteful to me. These color grabber sheets made life SO much easier. They grab excess color in the wash so that the shirts will not bleed into one another. I was a little cautious and used 24 color-grabber sheets (an entire small box), but it was worth it, because the water was initially VERY dark in the wash and the sheets instantly lightened the water up. The color does fad a bit once everything is washed and dried, but dang, they came out cool as HELL and I can't wait to do this again. Like I said, look up some videos online to really hone your skill. This is such a fun way to spend a summer afternoon and these make great gifts!
H**H
Great project for kids and adults! Easy and fantastic results from trusted Tulip brand.
Loved it!I prewashed 6 white tshirts.Next day, my 8 year old grandson & I layed out our shirts on kitchen floor and decided to added rubber bands in bullseye and striped patterns as shown on excellent included Tulip color photo instruction page.Then we moved outside around noon. On old table, we layed plastic down and added paper towels over it to absorb excess and prevent muddy mixing of colors. After I added water, shook bottles, and put gloves on my 8 year old and the 4 year old,. I let them take turns squirting different colors by the rubber band sections of 1 T-shirt at a time. Then flipped shirt and repeated. We left a little white area by bands and didn't over saturate with color. I forgot to dampen shirts, so some of dyes ran off shirts.We could have gotten more shirts than 6 if I had predampened. Changed out paper towels between shirts. When they went inside to wash up (only their socks got spotted with dye where they stepped in it, but they stayed mostly dye- free.), I placed rubber banded and dyed shirts out on another sheet of plastic($1 store tablecloths) and placed another sheet of plastic over top b/c instructions say to keep damp.) It was hot summer day, so they only remained a bit wet from dyes after sitting out for 4 hours. Then, 4pm I put each shirt in a large plastic Ziploc bag and put them in my tub in a container overnight, as instructions say to let colors soak into fibers for better results. 6am, I cut off rubber bands, one shirt at at a time, and filled a little plastic garbage can with water from the tub. I agitated shirt in pail until most of dye came out. I removed shirt and twisted out and put into fresh Ziploc. I poured water down toilet and quickly flushed to prevent dying the porcelain. I repeated until all shirts were done. (At some point I seemed to dye my beige linoleum blue in one section and started to panic. A little Joy dishwashing liquid on wet paper towel took it off though.) I brought each baggie to sink, rinsed each shirt until water ran clear, twisted excess water out and threw into washer. Single shirt, hot water, small load, short cycle. Then hung on line outside to dry. They came out great! Kids love them, but we've yet to wash them again. We will wash separately as recommended though for first few washes. Easy project , backbreaking rinsing if you are older and doing all the shirts yourself, but would totally do again!
T**L
Fun purple dye colors
Great dye was easy to use. Just don’t wash too many freshly dyed items together, the white part of our shirts turned light purple because there were too many in the washer.
K**R
Makes beautiful tie dye!
I bought this kit to make tie dye shirts for my preschool class. It was more than enough for 15 shirts, 4-5T. The colors are so vibrant! The process was so fun and directions were very easy to follow. It was neat opening them up and seeing the designs. The kids loved them! The pictures were taken after the shirts had been washed so you can see how vivid the colors remain. Make sure you have an old plastic tablecloth or newspaper down because we didn’t and the dye stained one of our classroom tables.
D**N
Great kit!
I thought these colors meshed really well together. For some reason the lavender looks gray in my pictures but in person, it is just a very pale lavender with no gray undertones. These colors worked because they didn’t blend and get muddy like the other Tulip kits I’ve purchased. I’m not sure if that’s the colors or just me being careful not to oversaturate or mix colors. The Aegean Sea color that looks gray in the stock photos is actually a lovely sea green color. It’s like if army green and teal got together and had a baby, that baby would be named Aegean Sea. I am pleased with this kit. I only left the dye on for one hour because I heard that it makes the colors look more pastel. And I wanted a softer tie dye. Honestly I can’t tell a difference in that strategy. The turquoise and purple are as vibrant as the turquoise and purple I’ve left on for 12-24 hours in previous tie dye projects. I’ve been tie dying shirts all summer going through this craze with my kids, and one recommendation I have is that you treat your fabric with soda ash prior to dying. Buy a pound of it on Amazon for about $8, put the whole pound in a bucket of mop bucket water, and let your shirts sit in it for 30 minutes. Take shirts out and wring them out completely, then dye fabric immediately while damp. I swear the soda ash makes the colors so much more vibrant! My first tie dye project I did not do the soda ash and my colors were very dull. Almost like a tie dye shirt you’ve owned for 15 years. Just kinda bland. The soda ash really works and I’m honestly not sure how but it makes a noticeable difference. I also have been letting the shirts soak in vinegar after dying and rinsing, but vinegar doesn’t do anything to make the colors set or stay. It’s a wasted step. My shirts come out vibrant and stay that way for many washings regardless if I “set” the final product with vinegar or not! Have fun! Swirl pattern is the easiest. Crumple is cool but you have to be careful to not really mix the colors as you’re applying the dye all over. I strategically placed the dye all over but was careful not to overlap colors. Overlapping a bit is ok but too much makes the final product a big ole blob of mixed colors. Sounds cool except the colors will not be the colors you bought. Fuchsia and green will somehow make a dark muddy violet. Turquoise and purple will make a murky navy violet. It’s best to try the swirl or some sort of stripe pattern where the colors stay separate.
N**A
superior dyes
best of the tulip dye sets by far. I order it whenever it's b1g1. The dyes are better quality than the other tulip sets and the colors are vivid.
S**S
VIBRANT colors
If you want vibrant colors to tie dye then this is the brand to get. I have never seen a brighter outcome from DIY tie dying kits. I highly recommend this brand. I have also found that the colors don't run after the first wash.
TrustPilot
vor 1 Monat
vor 1 Monat