


🚀 Elevate Your Printing Game!
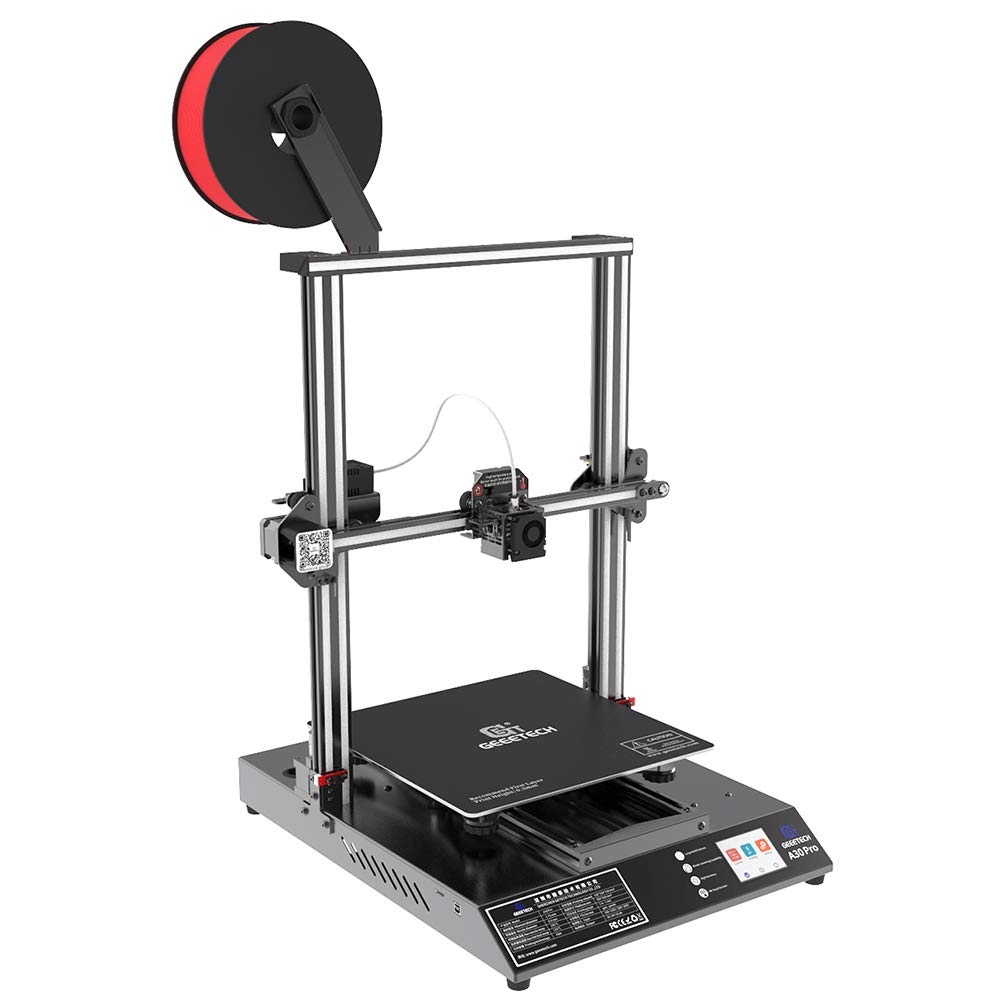
The GEEETECH A30 PRO 3D Printer is designed for professionals seeking high-quality, large-scale 3D printing. With a print size of 320×320×420mm³, it features a filament detector, break resume capability, a full-color touch screen, and a dual Z-axis lead screw for enhanced stability. This fast-assembled kit is perfect for those who want to dive into 3D printing without the hassle.


S**1
Massive Size, Great Price, Easy to setup
I am not a total beginner when it comes to 3d printers, i have several i3's and JGAurora larger format printers, but wanted to take my printing to that next level of size.Purchased this A30 for the size of the bed rather than the height, although being able to print to 420mm height is very impressive.First out the box it looks a bit daunting as the frame is so big, but its light and easily handled by a single person. Assembly is literally 4 bolts in the bottom and then the side T-pieces which are 4 bolts and all pre attached, you just line up the washers the correct way so it slots into the frame and then tighten the bolts.The kit comes complete with spare nozzle, bowden tube, bolt kit, and all the tools you need to get it fixed up. USB to connect to a PC or Octoprint. Instructions were easy to follow, although i must admit to watching a few unboxing videos on the internet before.Well labelled cables means there is not much you can get wrong, with 4pin 3pin and 2pin and the lengths measured well so even if you didn't have labels it would be easy to tell where they all went. For me i tidied the cables around the frame with the supplied cable ties, the only hard work was working out where to secure the bed heated cable wire as its so long and needs to reach up high when printing so does kind of drag about a little (no issue really i just like a good tidy set of cables)Levelling was a doddle, with the 5 point manual calibration probing in good places to allow a decent level (activated from the touch screen). The bed knobs could do with being a little larger for people with big hands who can't reach under the bed. I have to admit i did think the thin aluminium heated bed wouldn't stay level, as its half the thickness of my other printers but it does, awesome as its so big!The Geeetech superplate lived up to expectations, it is very much like the Anycubic Ultrabases, sticks when hot and releases when back at room temperature. One design part Geeetech have nailed is the aluminium beds heater core on the bottom leaves spaces where you need to attach the bed clips, which is great as some of my earlier printers you would need to use tape or eventually the rubbing would short out the bed, good work Geeetech. Whilst the bed can be stuck down i really like using binder clips and have had no problems on any of my other machines. 500watt power supply so no issue keeping the hotend and the bed up to temperature, and heatup is really rapid.It takes micro SD card rather than USB sticks, i have to admit i like the JGAuroras USB stick setup, and the microSD cards i'm always scared of shoving it through the case into the power supply, but its just a minor detail (will probably end up using Octoprint via USB anyway)The prints themselves are great straight out of the box, i am used to slicing files and pretty much replicated my retraction and print settings from my other printers and it works as expected straight away. No 3d printer is a click and go device, they all take time dialling in the settings for the machine and per filament too!If i were to make any improvements my first go to would be a metal extruder as the current setup could get weak overtime and skip steps, but that is just a personal choice. This is also a huge bed so prints on it really need to make the most of the size/height otherwise its heating up all that space for nothing, but thats exactly what i bought it for!Overall an easy to put together printer, probably about 15 minutes between opening box and levelling for me. Easy to level, great printer, some people say it is loud but i think its on par with my other 3d printers, it is more difficult to move around than the all in one 3d printers as the power box is separately attached, but to be honest i see that as a plus point as its easy to take the power box away to a desk if any replacements of items need to be done in the future like fans etc. Well built, good at everything i could throw at it, and a massive size for the price!
G**H
Another Nice 3D Printer
Amazingly sturdy printer, considering its build volume. I bought this printer as my 3rd 3D printer. I wanted bigger print volume with decent finish which is what i got from this printer. To be fair the finish quality on E180 is slightly better than this so far. I guess i need to make some changes while slicing for finer quality but all in all this is giving me great prints. Other things i liked about this were the recovery after power cut and the filament sensor that would stop the printer if the filament runs out.Only one thing which i wish was there is the repetier host connectivity via TCP over WiFi which i hope can be added later on with some software updates.
P**E
My 3rd Geeetech A30
This is the 3rd Geeetech A30, they are great pieces of 3D kit for the money. Now don’t get me wrong the odd improvement here and there could be made, but that’s the world of 3D printing. So let me tell you a little about the A30.All the A30’s arrived safely having been well packaged and consists mainly of 3 parts- the base, top and power unit. Assembly took roughly just 10 minutes from opening the box to levelling bed, to printing (approximately 90% of the kit is pre-assembled).As with the other A30’s that I bought, I love the fact that the main frame and most of the support brackets are all made from aluminium. Assembly is simple: the X frame screws into the Y base with just 4 hex screws, then secure the T-slot bracket onto the Y frame. All the cables are labelled, meaning it is simple to connect them to the power/control unit, just remember to adjust the voltage to the correct setting for your country. The motors and end stops are also labelled so you can’t really go wrong.The A30 uses 2 motors on the Z axis which helps to improve levelling and accuracy of prints on the X axis. On the Y axis, the bed glides along 2 aluminium rails thus making the print bed more rigid and secure which in turn helps with results.It is obvious that the A30 is a clone, but I purchased it due to the large print area (320x320x420) and the fact that it came with dual Z axis, dual Z motors and dual rails on the Y axis of the print bed. Additionally, it also came with a touch screen control unit and filament out detection.I used to use the Repetier software for slicing my 3d files, but I now use Slic3r as this retains more of the fine details with your prints. Profiles are available on Facebook for the A30, with all the settings done for you. In my opinion there are a few improvements that Geeetech could address; metal extruder and upgrade the fans within the control box as they can be really noisy. I’m not a novice to the 3D printing world, I’ve owned a Tevo Tarantula for around 3 years. With the Geeetech A30 I’ve found that for the price, build quality, Geeetech support and Facebook group knowledge, combined with all the features that the A30 has then you can’t really go wrong. So far the 3D results that I’ve had have been pretty amazing. However, with all 3D printers it may take a few tweaks here and there before you are completely satisfied with the results. I’m glad to say that the A30 certainly met my requirements, and I was happy with the 3D prints it generated within 5 minutes after assembly.Things to do before you do your first print:1. Check the alignment of your Z rail, and that the X axis moves fairly freely on the Z axis. Otherwise your Z rods might be misaligned slightly.2. Check the Z axis brass screws are finger tight, but not too tight3. Make sure the voltage on the power unit is the correct one for your country4. Tighten all the screws on the print bed, so the bed moves down prior to bed levelling5. Manually level the print bed by using a piece of paper. Adjust all 4 corners with the print head just catching the piece of paper and no more.6. Check Z stop gets triggered before the head reaches the print bed, as we don’t want the print head crashing into the print bed Tips:1. Join the Geeetech 3D printer group on Facebook2. I would upgrade the plastic extruder to a metal one3. Give the print bed a good wipe before use4. Adjust the print bed using the trusty method of a sheet of paper under the print head.5. If PLA isn’t sticking to the print bed, print bed temperature to 60 degrees and hotend temperature at 2156. Ensure you have the latest firmware on the control box.You do this by using Geeetech firmware upgrader, and downloading the latest firmware for your model. Remember to run the M and L files, you will need a TF card in the control box to run the update for the LCD screen, otherwise you may get a blank screen.
E**K
Unreliable with no Tech Support
The printer failed after 2 months and unusableI have tried to get technical support from Geeetech with no help or fixesGeeetech also seems unwilling or unable to honour their warranty
TrustPilot
vor 3 Wochen
vor 3 Tagen
